Unusual Text effect Photoshop Tutorial
This Photoshop tutorial will explain how to create an amazing 3D-like text effect using some gradient fills, lasso tools, and the Dodge and Burn Tools. It is really simple but the final result is great. Lets get started.There are so many Text Effect Photoshop tutorials available, but this one is really one of the best I have found, and I really want you to see where your imagination will take you.
I hope you will be as creative as you could and produce the best text effect in Photoshop that suits your design.

Unusual Text effect Photoshop Tutorial - Step 1
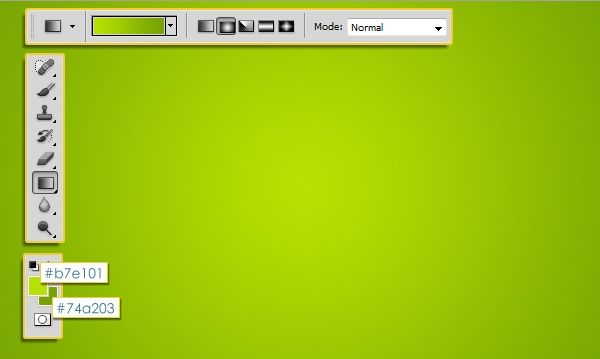
Create a new document, 800×500 pixels, or any other dimensions depending on the text you’re going to create. Then, set the Foreground color to #b7e101, and the Background color to #74a203, and pick the Gradient Tool.Choose the Foreground to Background fill, and click the Radial Gradient icon in the Options bar, then click and drag from the center of the document to one of the corners to create the gradient fill.
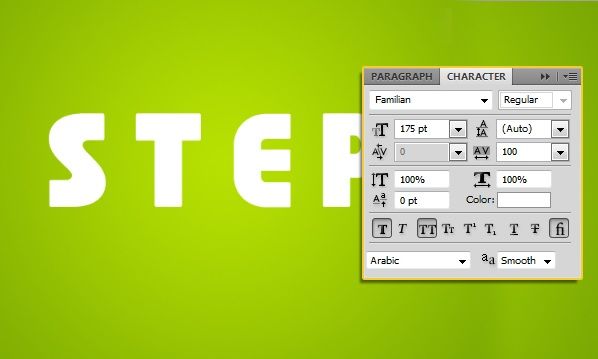
Create the text in Bold All Caps using the color White and the font Familian with a Size value of 175 pt, then, set the Tracking value in the Character panel (Window -> Character) to 100 to avoid overlapping.
Unusual Text effect Photoshop Tutorial - Step 2
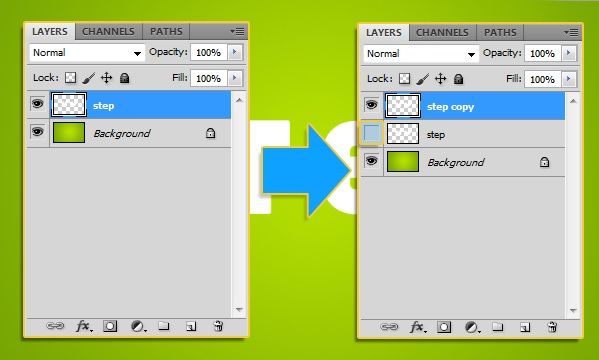
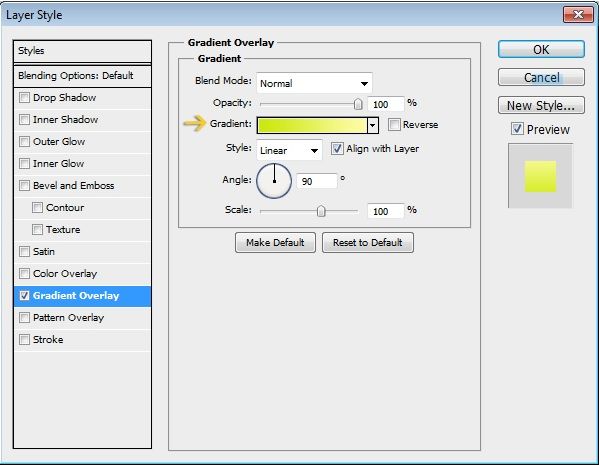
Double click the copy text layer to apply a Gradient Overlay effect, and click the Gradient box to create the gradient used.
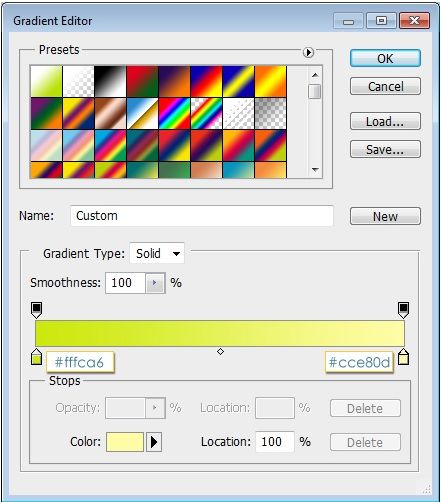
There are only two colors used: #fffca6 to the left, and #cce80d to the right.
This is how the text should look like.

Unusual Text effect Photoshop Tutorial - Step 3
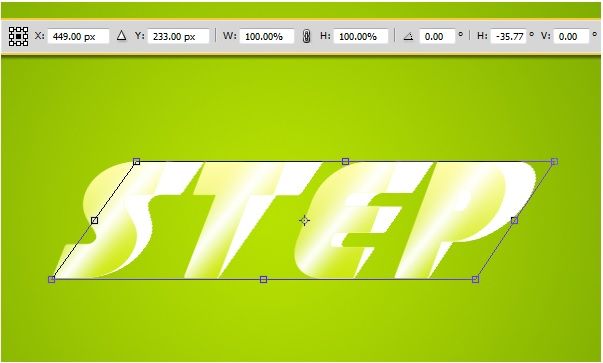
Go to Edit -> Transform -> Skew, and move the upper corners to get a result similar to the one below. Then press Enter to get out of the Skew Mode.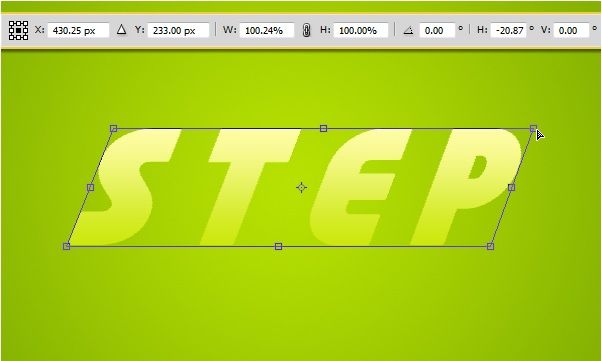
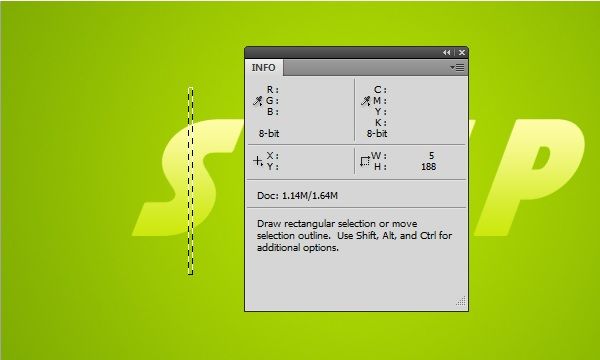
Create a new layer on top of all layers then fill the selection with white. Go to Select -> Deselect (or press Ctrl + D) to get rid of the selection.
Go to Filter -> Blur -> Gaussian Blur and enter 2.5 for the Raduis value.

Unusual Text effect Photoshop Tutorial - Step 4
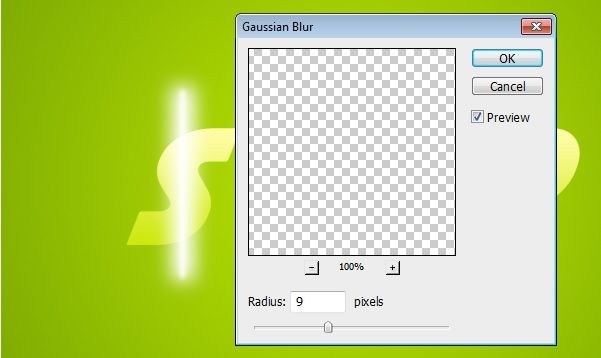
Go to Filter -> Blur -> Gaussian Blur and enter 9 for the Raduis value this time.
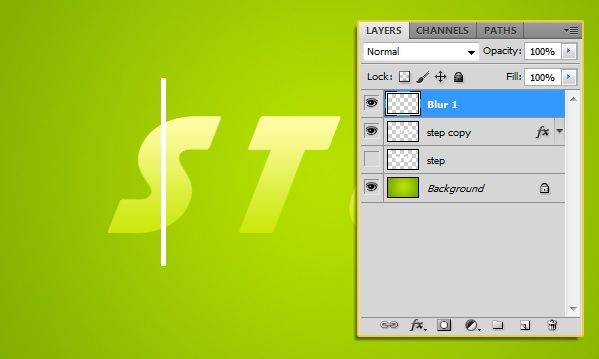
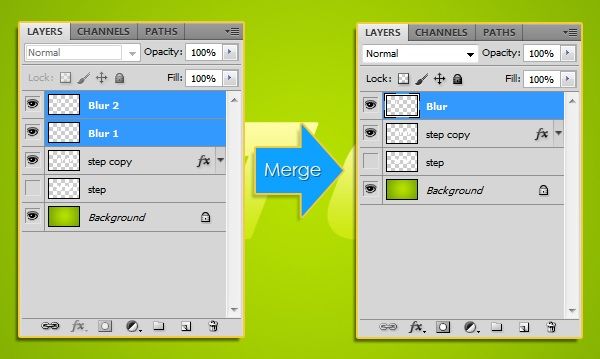
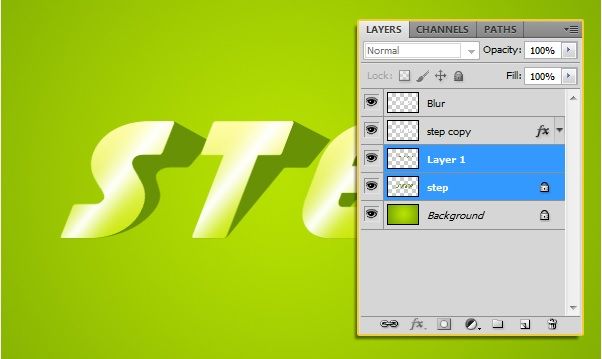
Select both blur layers then go to Layer -> Merge Layers, and rename the merged layer to “Blur”.
Unusual Text effect Photoshop Tutorial - Step 5
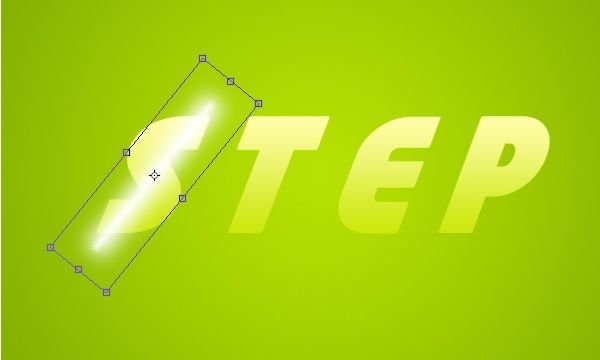
Go to Edit -> Transform -> Rotate, and rotate the blurred part as below, then press Enter.
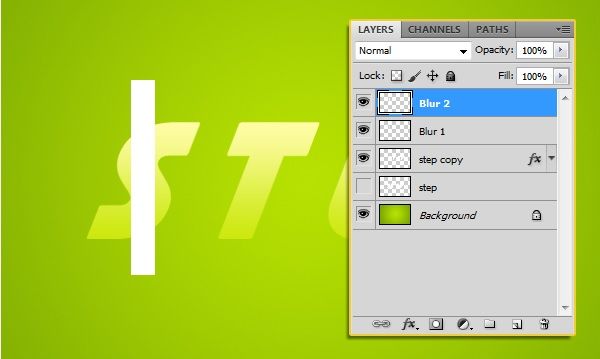
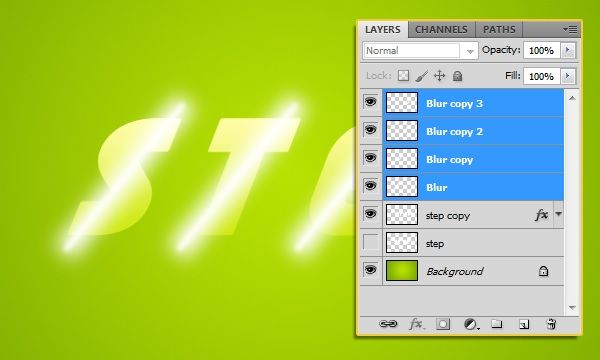
Duplicate the “Blur” layer and move it so that you have blur placed over each letter. Then, select all the Blur layers and merge them (Layer -> Merge Layers).
Ctrl + Click the copy text layer’s thumbnail (icon) to create a selection, then go to Select -> Inverse to invert the selection.
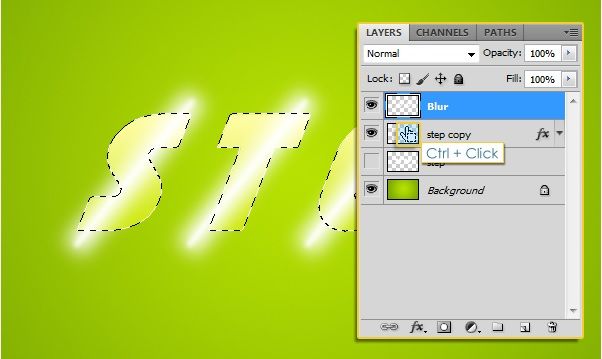
Press Delete to get rid of the outer parts of the blur, then press Ctrl + D to get rid of the selection.

Unusual Text effect Photoshop Tutorial - Step 6
Make the original text layer visible again.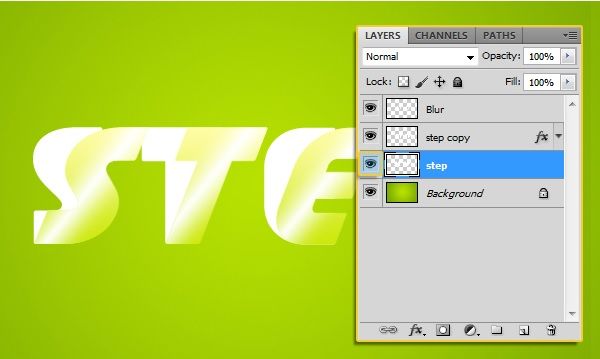
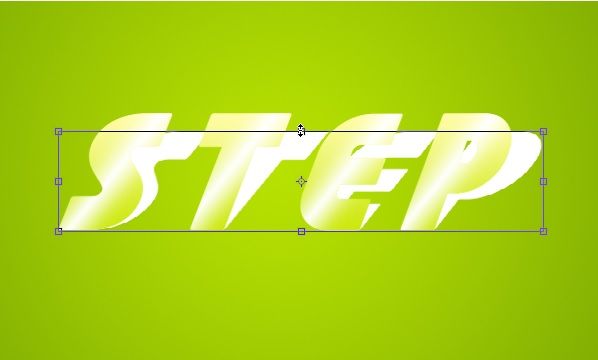
Go to Edit -> Transform -> Skew, and skew this text a bit more to the right. Press Enter when done.
Go to Edit -> Transform -> Scale, and scale the text down vertically. Don’t forget to press Enter after you do so.
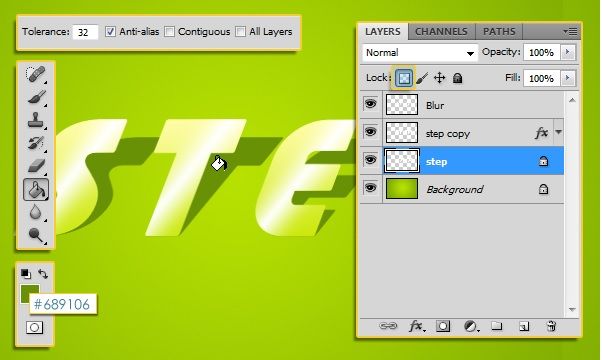
Make sure that the original text layer is selected (active), and click the “Lock transparent pixels” icon in the Layers panel. Set the Foreground color to #689106 and pick the Paint Bucket Tool. Un-check the Contiguous box in the Options bar then fill the white part with the Foreground color.
Unusual Text effect Photoshop Tutorial - Step 7
Create a new layer on top of the original text layer. Pick the Polygonal Lasso Tool and draw a selection around the empty areas between the two text layers.

Once you create the selection fill it with the same Foreground color then get rid of the selection (Ctrl + D).

Do the same for the rest of the letters, then merge this layer with the original text layer.
Unusual Text effect Photoshop Tutorial - Step 8
Next we are going to use the Dodge Tool and Burn Tool to lighten and darken certains areas.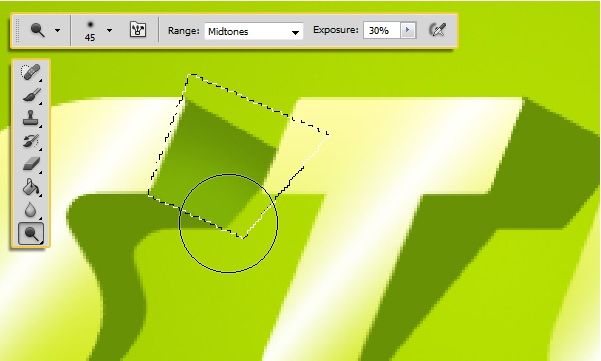
As for curves, no need for selections.

Use the Burn Tool with the same settings as the Dodge Tool to darken the areas left.

Final Image
Hope you enjoyed the tutorial and found it useful.

0 comments:
Post a Comment